If you've not used Duo Two-factor authentication before, you can find more information about what it is by visiting "Duo two-factor authentication"
New Staff and students are automatically enrolled on Duo, a two-factor authentication system. Duo requires setup before you can log in to any protected systems (eg Microsoft 365, Minerva, etc.).
Please note: Before setting up Duo, you will need your University credentials, including username and password. (For both staff and students, you will have been sent an email to your personal email address on how to set your password and access your account.)
This article explains how to enrol for Duo Two-factor authentication and which devices you can use.
Enrolling for Duo two-factor authentication
How do I enrol for Duo?
Watch this video quick start guide, or follow the steps below to enrol. If you can't see the video, view it directly on the Duo guide.
- Login to https://www.microsoft365.com/?auth=2 or Minerva.
- The first time you log in, you will be prompted to register for Self-Service Password Reset (SSPR) and Duo.
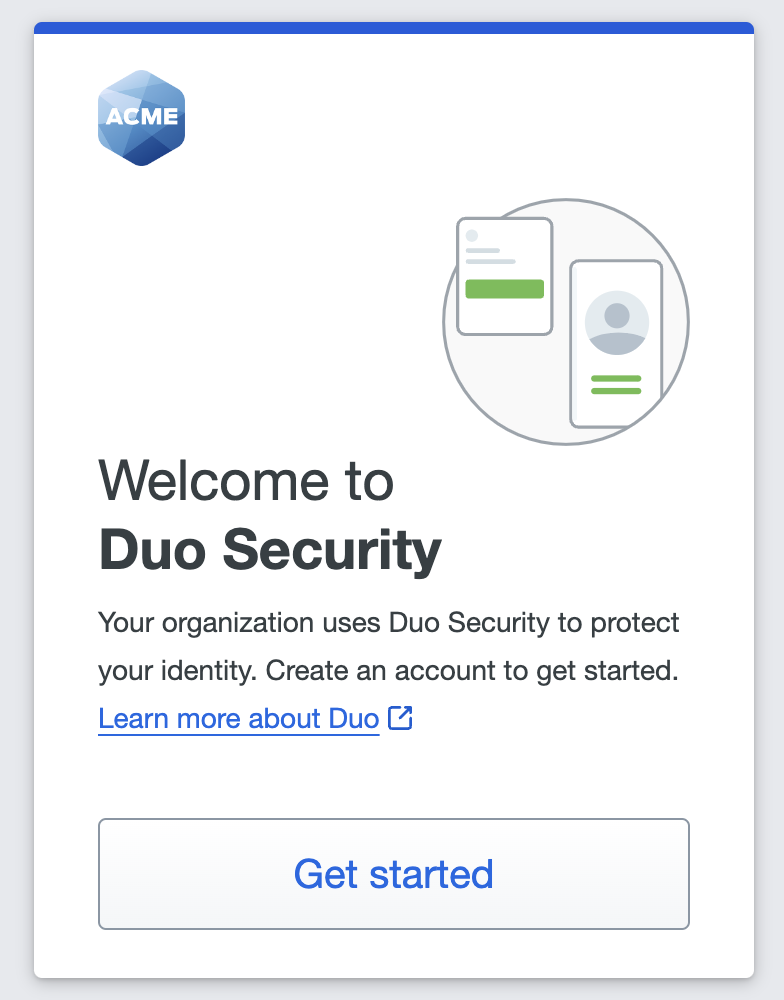
- When you start the Duo setup, a webpage will open. Click 'Start Setup' to continue.
(If you wish to learn more about Minerva, you can do so here: https://desystemshelp.leeds.ac.uk/minerva/)
Note: The University's Duo setup uses the University branding, rather than the general "Acme" images you see in this article.

DUO for Mobile
In the next section, you will be asked to select the type of mobile device you are adding.
The following instructions are for a mobile phone (the recommended option), but the process will be similar for other devices; just follow the prompts on screen.
Important: Using DUO Mobile is the recommended way to authenticate. For information about using other authentication methods or device options, see Duo - choosing and using your authentication device.
Step-by-step guidance for Duo Mobile
Duo Mobile is an app that runs on iOS and Android phones and tablets. It's fast and easy to use and doesn't require cell service. Duo pushes login requests to Duo Mobile when you have mobile data or wifi connectivity to the internet. When you have no data service, you can generate passcodes with Duo Mobile for logging in to applications.
The current version of Duo Mobile supports iOS 15 or newer and Android 11 or newer.
Pick your account if prompted, otherwise click on 'Use another account' and enter your 'username' followed by '@leeds.ac.uk'. Click 'Next'.
Click "Get Started"
Click on "Duo Mobile (Recommended)" option
Select your country from the drop-down list, type your mobile phone number, and then click "Add phone number."
Enter your mobile phone number (without the leading zero), then click "Continue".
If you're going to use Duo Mobile on a tablet (like an iPad) with no phone service, don't enter a phone number and click "I have a tablet" instead.
If you entered a phone number, double-check that you entered it correctly and click "Yes, it's correct" to continue. OR "No, I need to change it" to go back and enter the number again.
If the number you entered is already associated with another Duo account, Duo will ask you to confirm that it’s yours. Just choose whether you’d like to receive a code by text message or phone call, then enter the passcode to continue.
Enter the 6-digit passcode sent to your device via SMS or Phone call. Type the code into the field with dashes on your screen. If entered correctly, click "Verify".
Download and install Duo Mobile app on your phone or tablet from the Google Play Store or Apple App Store.
Once you have installed the Duo App on your device click on "Next"
You will then be presented with a screen showing you your QR code on your device screen
If you're using the same device that the QR code is showing on, you won’t be able to scan it. Just choose “Get an activation link instead” and enter a personal email address, and activation link will be emailed to you.
Check your personal email for your activation link (if you have not received the activation link email, please check your spam folder) if you have not received the email please click on the link "Send another email"
You will receive an email saying "To activate the app, click and open this link with Duo Mobile" Click on this link
You will be presented with the screen below asking you to "Activate Duo Mobile" Click this.
This will add your device into the Duo app.
If you have scanned the QR code, this will add your device to your Duo app. click "Save "
You will then be presented with a screen confirming you have added your device to Duo, Click "Continue"
You will then be asked to log in with Duo Click "Log in with Duo"
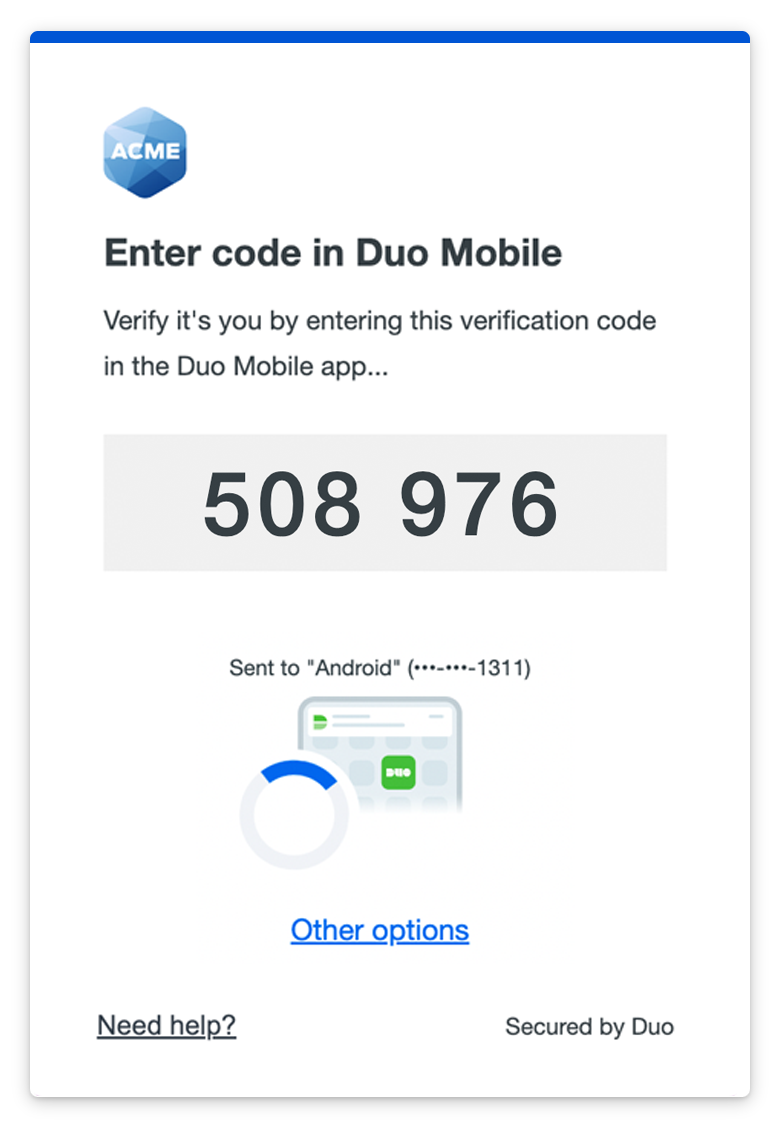
You will be presented with a three digit code on your device screen, Enter the three digit code into your Duo notification.
Once you have entered the code, you will then be asked if this is your Device, Click "Yes,this is my device"
You will then be told you have successfully MFA'd into Duo
You can now log in to Duo-protected applications with Duo Push or with a Duo Mobile passcode.
Your preference to authenticate
Authenticating or selecting a different authentication method
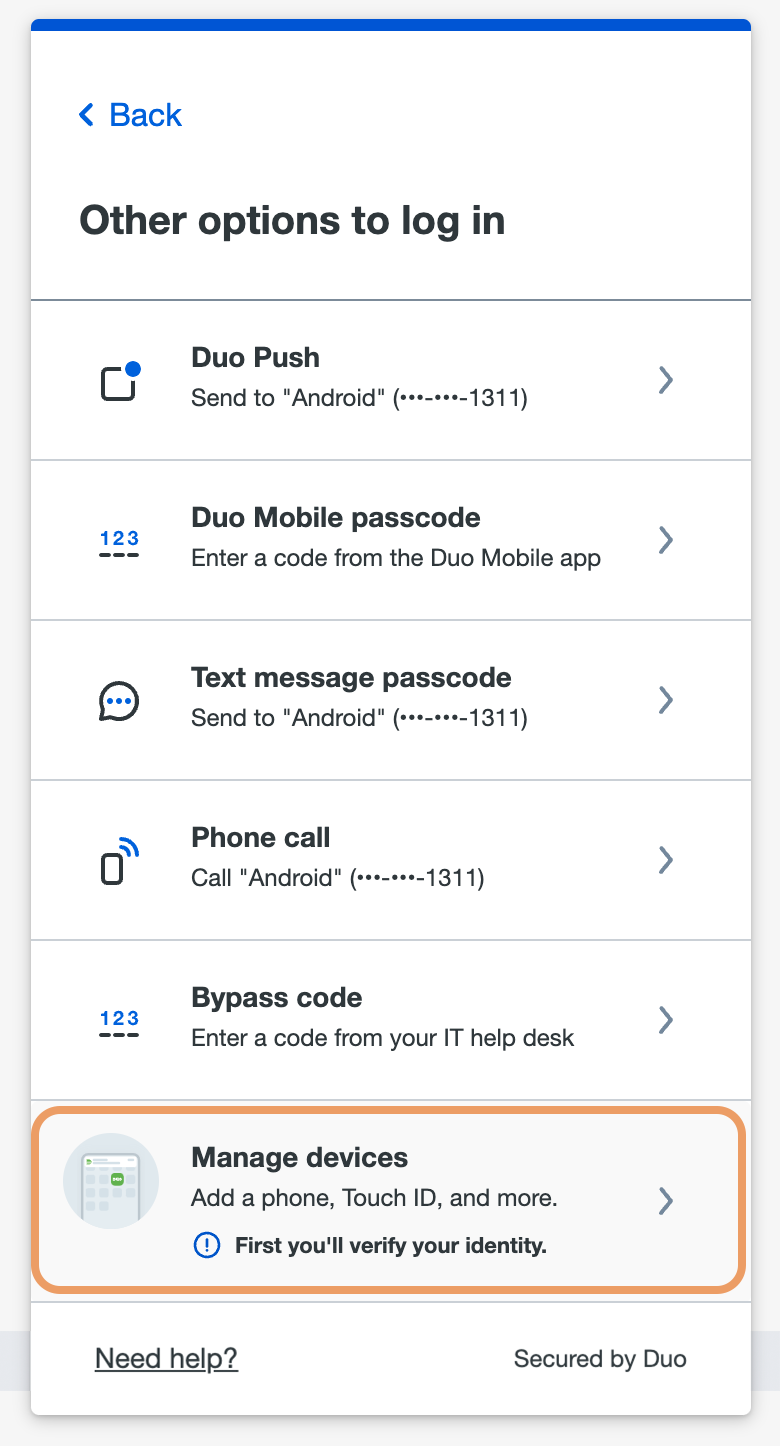
Duo two-factor authentication will default to the most secure method to authenticate, or the last used method if different. If you would like to use a different option or add a device, select 'Other options'.

You can then choose another option, or select 'Manage devices' to add another device.

To access the device management, you'll first need to verify your identity, just as you do when logging in to a service or application protected by Duo. Click on an available option to verify your identity. If you're visiting device management to delete or update a device you don't have anymore (such as a phone you lost or replaced), be sure to pick a verification option that you still have with you. If you don't have any devices you can use to authenticate to device management, contact the IT Service Desk.
After approving a Duo authentication request, you can see all your registered devices in the device management portal.
Adding a new device
To add a new method of verifying your identity in Duo, click "Add a device" and select one of the verification options.
Duo takes you through the steps of adding the new device, just like first-time enrollment. The difference between adding a new device from device management and during first-time enrollment is that when you have finished enrolling the new device you return to the device management page to view all your registered devices, including the new one, instead of continuing to log into an application.